Overview
Building a high-performance PC in a small form factor has become an exciting challenge for enthusiasts who value both power and space efficiency. This guide draws from a multi-year journey documented in the original 'Building a PC' series, focusing on the latest iteration: downsizing to a mini-ITX system without compromising on performance. We'll explore the motivations, component choices, and practical steps to create a compact powerhouse that rivals full-sized desktops. Whether you're upgrading an aging rig or starting from scratch, this tutorial provides the insights needed to succeed.
Prerequisites
Skills & Knowledge
- Familiarity with basic PC assembly (installing CPU, RAM, GPU, etc.)
- Understanding of power supply specifications (SFX vs ATX)
- Comfort with small workspace and precise cable management
Required Tools
- Phillips-head screwdriver (magnetic tip recommended)
- Anti-static wrist strap or mat
- Zip ties or Velcro straps for cable management
- Thermal paste (if not pre-applied on cooler)
Core Components
These parts are typical for a powerful mini-ITX build, based on the original author's experience:
- Case options: Dan A4-SFX (6.3L) or Streacom DA2 (17.5L) — smaller requires more planning.
- Motherboard: Mini-ITX with Z390 chipset (e.g., for Intel i9-9900KS).
- CPU: High-end example: Intel Core i9-9900KS (8C/16T, 5.0 GHz).
- CPU Cooler: Low-profile or compact tower: Cryorig H7 (exact fit for DA2).
- GPU: Full-sized dual-slot GPU (e.g., NVIDIA RTX 2080 Ti).
- PSU: SFX form factor (e.g., SF600 or SF750) for Dan A4; can use SFX or ATX in DA2.
- Storage: M.2 NVMe (Samsung 970 Pro 1TB) + SATA SSD (Samsung 860 QVO 4TB).
- RAM: 2x32GB DDR4-3000 (64GB total).
Step-by-Step Instructions
1. Choose Your Case
The case dictates almost every other component choice. The Dan A4-SFX is ultra-compact (7.3 liters) but limits CPU cooler height to 55mm. The Streacom DA2 (17.5 liters) offers more flexibility with support for larger air coolers and additional fans. For maximum power, the DA2 is recommended. Compare dimensions:
- Dan A4-SFX: 200mm × 115mm × 317mm = 7.3L
- Streacom DA2: 180mm × 286mm × 340mm = 17.5L
- For reference, console sizes: PS4 Pro ~5.3L, Xbox One S ~4.3L
Your choice impacts cooling and future upgrades. Jump to thermal section for tips.
2. Component Assembly Outside the Case
Build the core system on the motherboard box first to verify functionality:
- Install CPU, RAM, and M.2 SSD onto motherboard.
- Attach CPU cooler (ensure it clears the case later).
- Plug in power supply temporarily (20+4 pin and 8-pin CPU).
- Connect GPU (if possible) and perform a test boot.
- If successful, disconnect and move to the case.
3. Prepare the Case
For the Streacom DA2, remove the removable panels: top and bottom acrylic sheets with mesh dust nets. The original author noted dramatically better temperatures after removing these pop-out panels — they restrict airflow. Also, familiarize yourself with the internal bracket system: the DA2 features a versatile horizontal and vertical bracket arrangement (see manual). It uses captured nuts and bolts for easy repositioning.
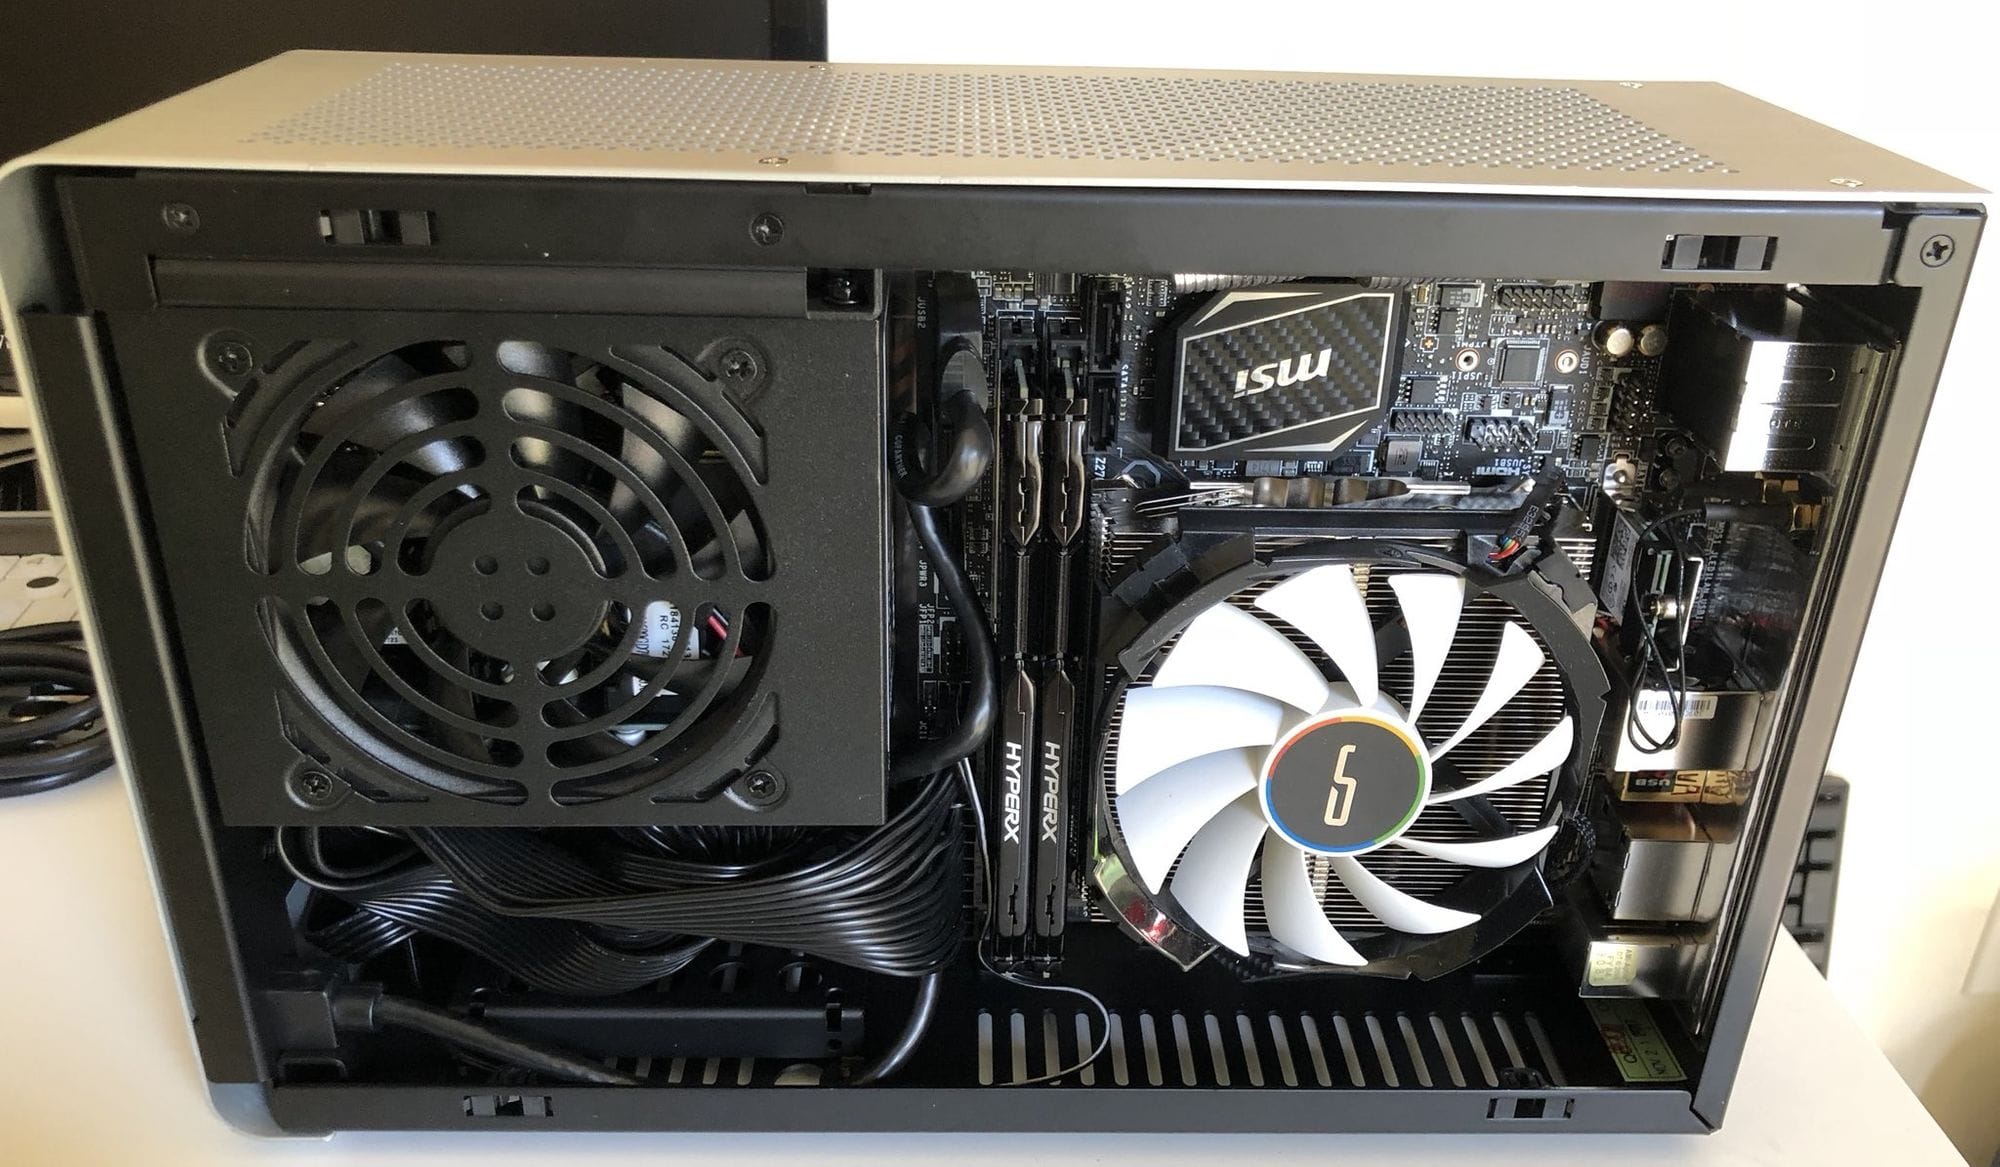
4. Install Components in the Case
- Power Supply: Install SFX PSU in its bracket first. Route cables through available openings.
- Motherboard + CPU + Cooler: Place the I/O shield, then screw in the motherboard. Ensure the cooler fins align with airflow direction (top exhaust).
- GPU: Insert the GPU into the PCIe slot. The DA2 supports full-sized dual-slot cards without issue.
- Additional Storage: Mount SATA SSDs in designated spots (e.g., behind front panel).
- Fans: The DA2 can mount up to 3 fans (e.g., 120mm at top) for exhaust. The Dan A4 has no fan mounts, relying on CPU cooler + PSU fan.
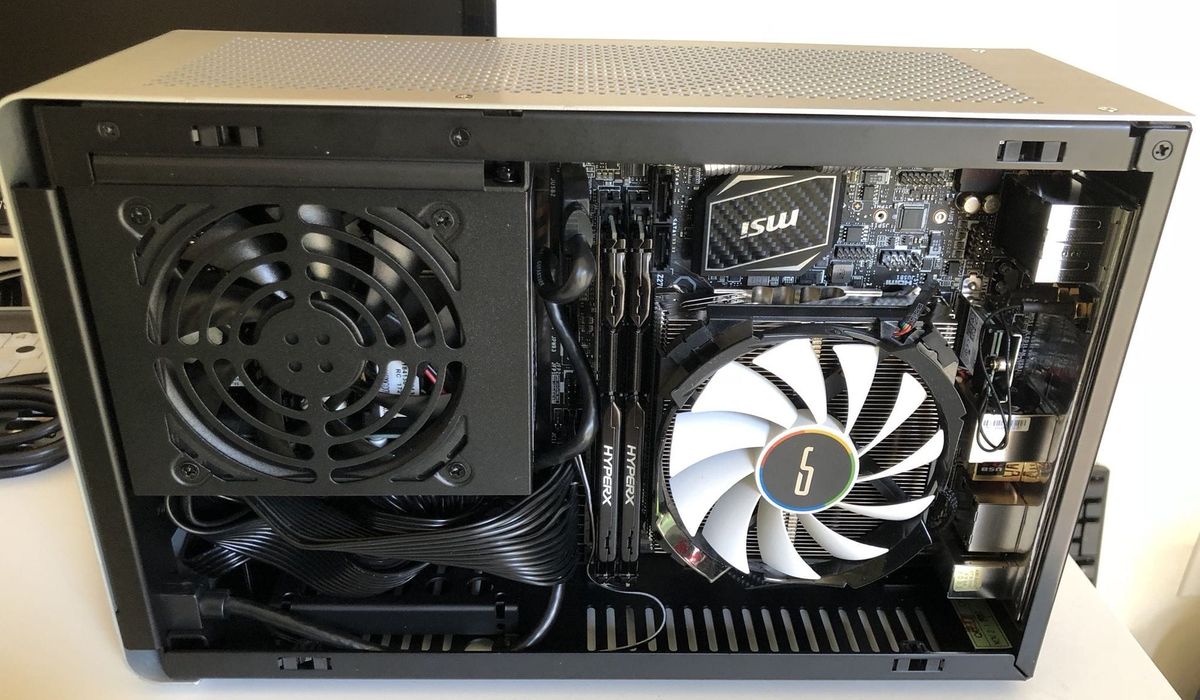
5. Cable Management
In a compact case, cable management is critical for airflow and clearance. Use short custom cables if possible, or diligently tie excess length. The DA2 has channels and tie-down points; snake cables behind the motherboard tray. Remember to leave room for the GPU's power connectors (avoid bending too sharply).
6. Optimize Cooling
For powerful CPUs like the i9-9900KS, a large cooler like the Cryorig H7 is necessary (fits in DA2 but not in Dan A4). Ensure airflow direction: bottom intake (if fans) → CPU cooler → top exhaust. In the Dan A4, the CPU cooler draws air from the side and exhausts down or out. Monitor temperatures under load; if too high, consider undervolting the CPU or adjusting fan curves.
Common Mistakes
- Ignoring CPU cooler height constraints: The Dan A4 only supports coolers under 55mm; the DA2 allows up to 145mm. Double-check clearance before buying.
- Oversized GPU: While both cases accept full-length GPUs, ensure the GPU fits width-wise (2.5 slots may be tight). Check case specs.
- Inadequate power supply: Use SFX for Dan A4; SFX-L might fit but check. The DA2 can accept ATX but reduces cable space.
- Skipping test boot: Troubleshooting inside a cramped case is a nightmare; always test outside first.
- Blocked airflow: Do not cover the top exhaust (if fan) or leave stock acrylic panels on (remove the mesh net for better airflow as the author did).
Summary
Building a mini-ITX PC that packs a punch is feasible with careful planning and component selection. The journey from a decades-old ATX case to a compact 17.5-liter chassis like the Streacom DA2 delivers a 2× improvement in core count, memory, and storage speed. While the Dan A4-SFX is even smaller, the DA2 offers greater thermal headroom for high-end CPUs and GPUs. By following this guide—choosing a compatible case, assembling methodically, and managing cables—you can create a desktop that is both powerful and space-efficient.