Introduction
Imagine transforming a solid piece of metal into a superheated, star-like plasma in just a few quadrillionths of a second. Scientists have achieved exactly this by combining two powerful lasers to track the rapid dance of electrons in copper atoms. This guide walks you through the step-by-step process of replicating this extreme physics experiment, from setting up the equipment to analyzing the fleeting moments when atoms lose and regain electrons, forming highly charged ions.
What You Need
- Femtosecond pump laser (e.g., Ti:sapphire, 800 nm, 100 fs pulse duration, high peak power)
- Femtosecond probe laser (synchronized with pump, tunable wavelength or X-ray source)
- Vacuum chamber (10^-7 mbar or better) with optical windows
- High-purity copper target (polished, mounted on a motorized stage)
- Beam steering optics (mirrors, lenses, beam splitters, delay line)
- Detectors: X-ray spectrometer (e.g., HOPG crystal + CCD) and electron time-of-flight spectrometer
- Data acquisition system (fast oscilloscope, computer with timing board)
- Laser safety equipment (goggles, interlocks)
Step-by-Step Procedure
Step 1: Prepare the Copper Target and Vacuum Environment
Place the polished copper target inside the vacuum chamber. Ensure the surface is clean and free of oxides—use an argon ion sputtering gun if necessary. Pump the chamber down to ultrahigh vacuum (10^-7 mbar) to prevent air from interfering with the plasma formation and to maintain a clean sample surface. Mount the chamber on a stable optical table with vibration isolation.
Step 2: Align the Pump and Probe Laser Beams
Set up the pump laser to deliver a focused, high-energy pulse onto the copper target at normal incidence. Attach a delay line on the probe laser path to adjust its arrival time relative to the pump pulse (with femtosecond precision). Use a pinhole or a camera to overlap the two beams on the target surface. The probe beam should hit the same spot but at a slight angle to allow detection of emitted X-rays or electrons.
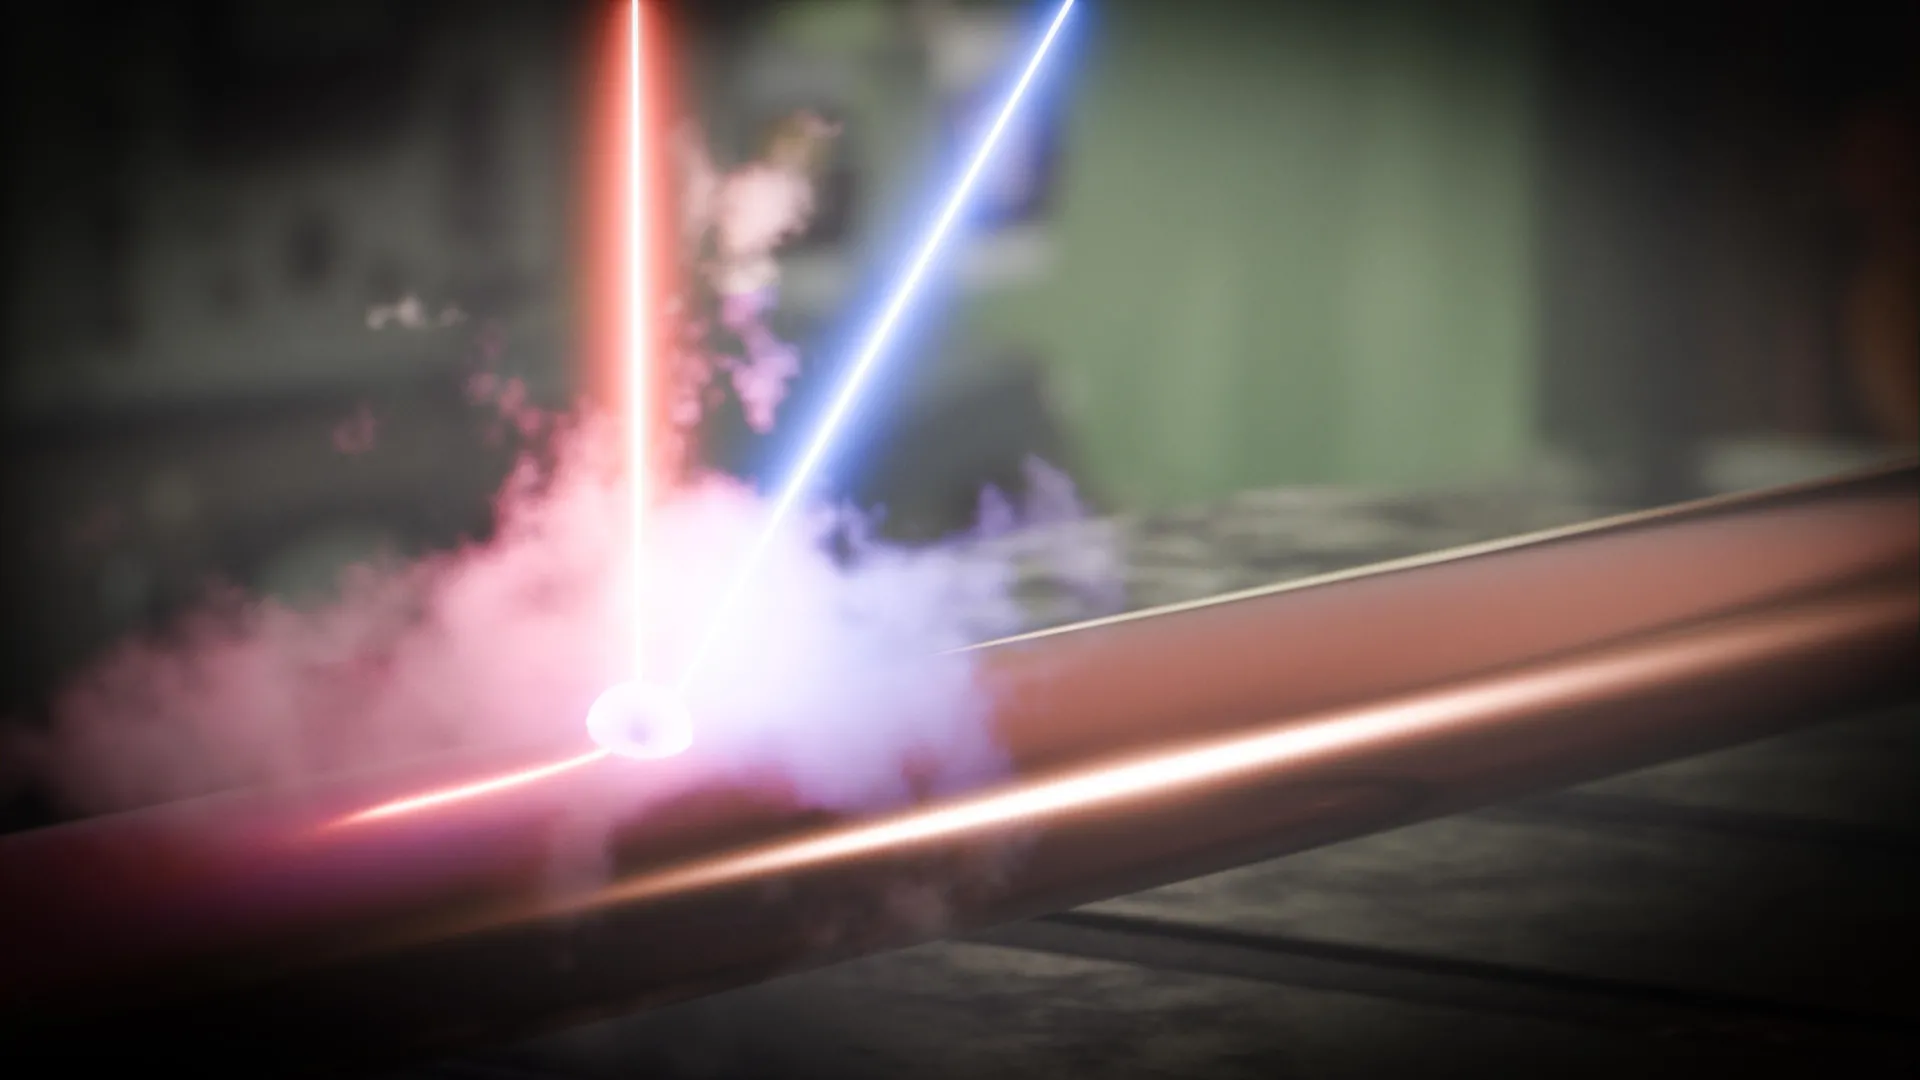
Step 3: Fire the Pump Laser to Create Plasma
Energize the pump laser and fire a single pulse (or a low-repetition-rate burst) onto the target. The intense electric field strips electrons from the copper atoms almost instantaneously, creating a dense, highly charged plasma. The temperature rises to millions of degrees—similar to conditions in the Sun's corona. Use a fast photodiode to monitor the pulse and trigger detection electronics.
Step 4: Use the Probe Laser to Track Ionization Dynamics
Fire the probe laser at various time delays relative to the pump (from a few femtoseconds up to a few picoseconds). The probe interacts with the transient plasma and reveals the state of the ions. For example, by measuring X-ray emission spectra, you can identify the charge states (Cu+ to Cu28+) and their population dynamics. Adjust the delay line in small steps (e.g., 10 fs) to map out the full time evolution.
Step 5: Capture Data with Detectors
Use the X-ray spectrometer to record the characteristic K-alpha and K-beta lines emitted as electrons cascade back into inner shells. Simultaneously, the electron time-of-flight spectrometer measures the kinetic energy of ejected electrons. Both signals are sent to the data acquisition system, which logs the amplitude as a function of pump-probe delay. Accumulate data over many laser shots to improve signal-to-noise ratio.
Step 6: Analyze Time-Resolved Spectra
Process the raw data to extract the evolution of ion charge states. For each delay, plot the X-ray spectrum and identify peaks corresponding to specific ionization levels. Track how peaks appear and disappear—this reveals the sequence of electron loss and capture. For example, you might observe that Cu+ appears first, followed by higher charges, and then recombination to neutral atoms over a few picoseconds. Compare your results with theoretical models of ultra-fast non-equilibrium plasma.
Tips for Success
- Laser synchronization is critical. Use a phase-locked loop to keep the pump and probe lasers jitter below 10 fs. Refer to Step 2 for alignment details.
- Maintain vacuum integrity. Even a small leak can cause pre-plasma formation. Check pressure before each run.
- Start with low energy. Gradually increase pump laser power to avoid damaging the target or optics. Begin around 1 mJ per pulse.
- Use a fresh target spot for each shot (motorized stage) to ensure consistent surface conditions.
- Calibrate detectors with known sources (e.g., Fe-55 for X-ray CCD) to get absolute energy scales.
- Expect noise. The plasma emits broadband background; use differential detection (shot-on vs shot-off) to enhance signal clarity.
- Document everything. Note laser parameters, delay steps, and chamber conditions—they are essential for reproducing results.
By following these steps, you can recreate the fleeting moment when metal turns into a star-like plasma, unlocking insights into matter under extreme conditions. Remember, the entire process happens in trillionths of a second—every alignment and timing adjustment matters.